Launch QEMU-aarch64 device build environment in GitPod.io
One-click set up
No need for expensive build machines to run your embedded Linux development environment. One click to set up the development environment for your device build.
The Sabaton build environment is designed to work effectively in cloud based development environments. Scale up your development tools as fast as you need them.
QEMU device that you can try out
We have developed a QEMU device build configuration that you can try out. Follow the simple instructions here to fire-up a web-based IDE to build your own QEMU disk image that you can download and boot on your own instance of QEMU. You will be building the Linux Kernel, a pure Rust initramdisk and a minimal set of applications.
Features
- Pure Rust initrd
- A/B partition based image with duplicate system and vendor partitions and a single data partition
- system and vendor partition protected with signed dm-verity metadata.
- systemd startup and zsh as the shell
- Parsec daemon
- Eclipse CycloneDDS with Eclipse ICEOryx integration
- Rust utlilties
Step1 : Launch the GitPod workspace
You will need to log in to GitPod during this process. Click here to launch the sample qemu device project in GitPod.
-
Login to GitPod first.

-
Gitpod will take a few minutes to create the container image
-
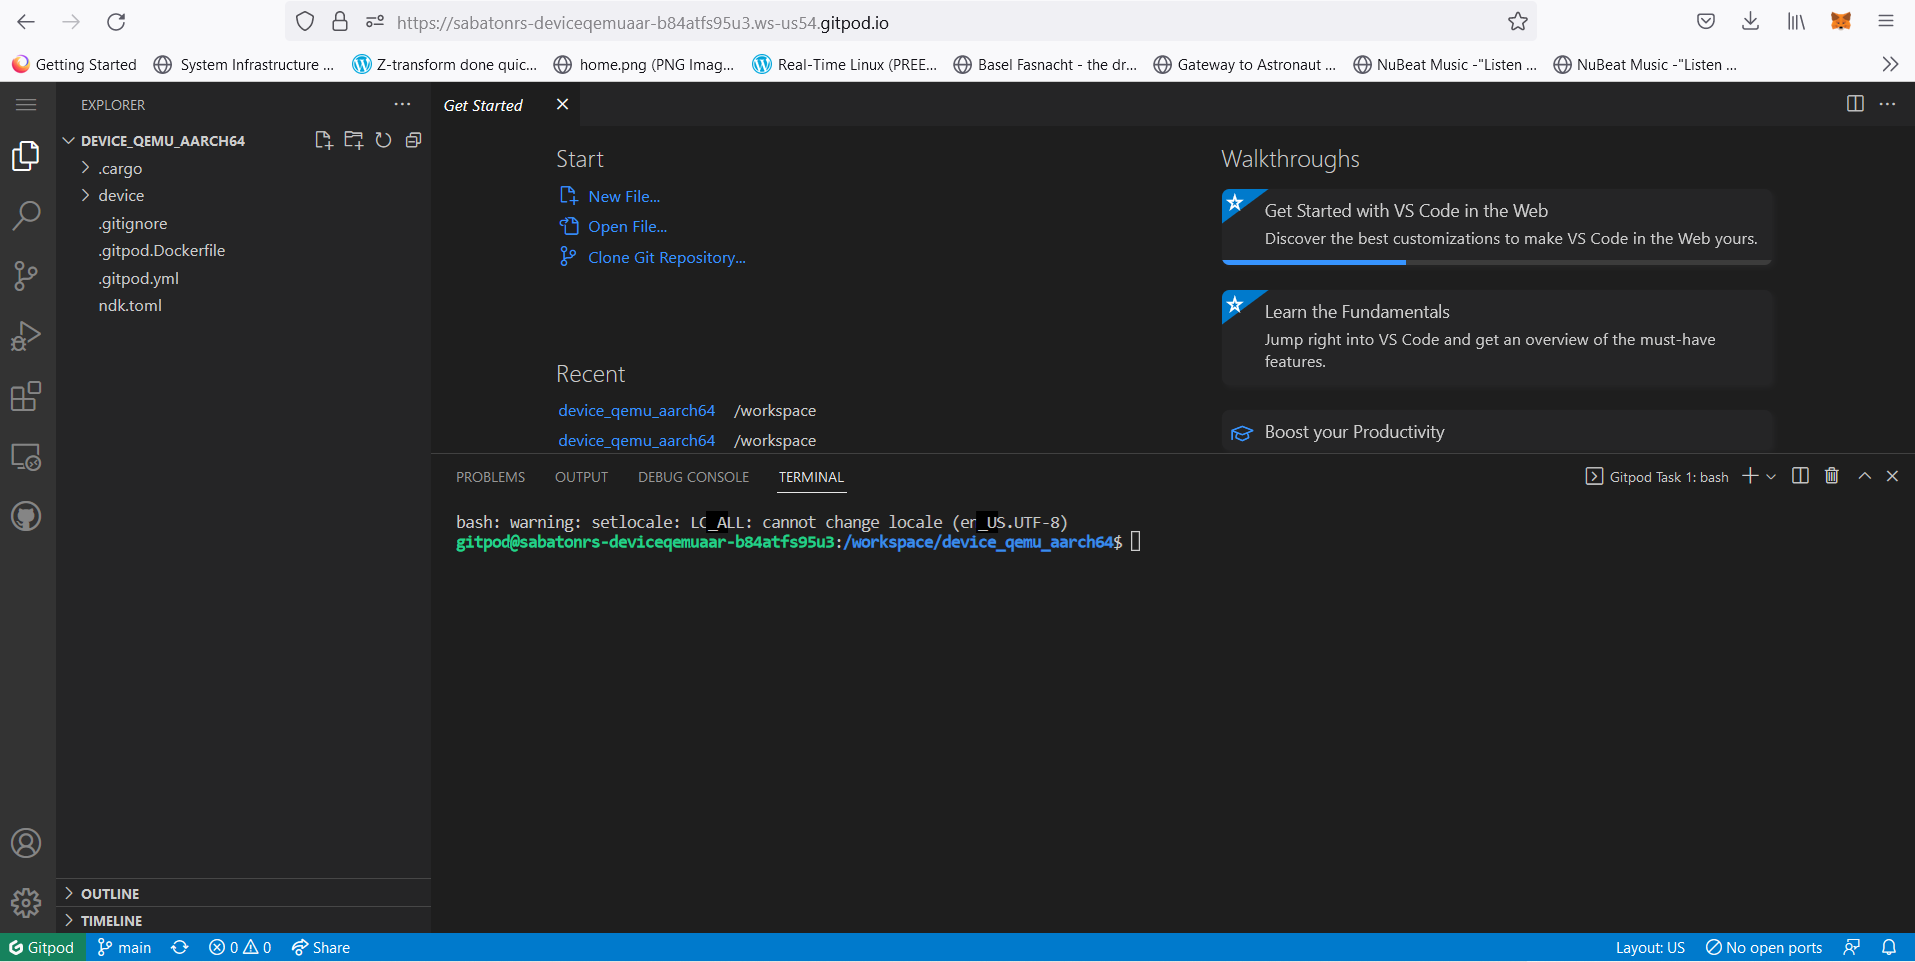
The IDE is ready
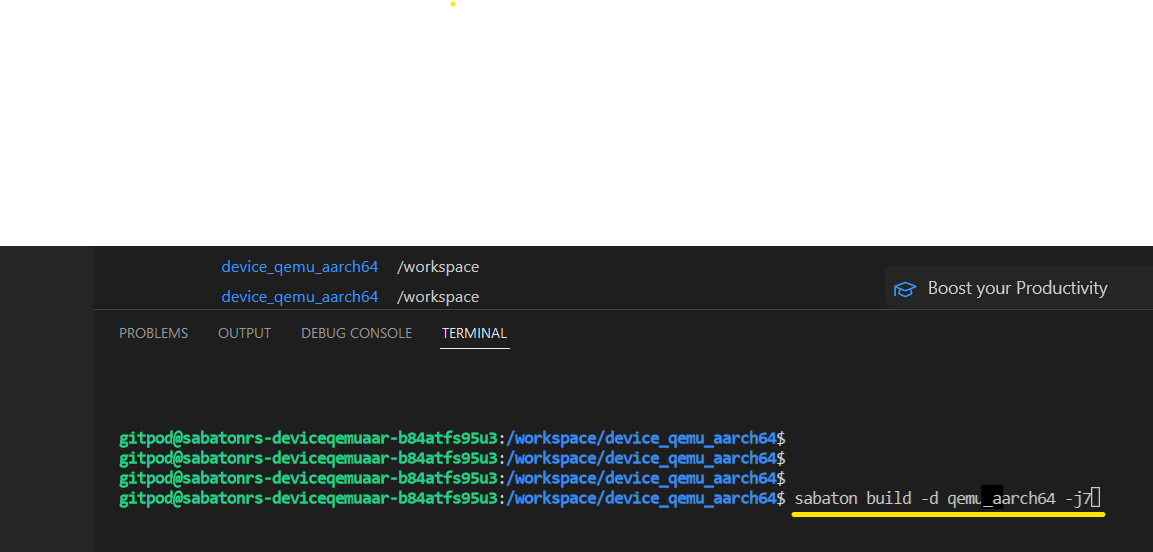
Step2 : Build the QEMU device using the sabaton utility
- Build the qemu_aarch64 device
sabaton@97bd600a34d3:~/sabaton$ sabaton build -d qemu_aarch64 -j 7
🚗.....Sabaton Build Orchestrator.....🦀
Building device
Building device:qemu_aarch64
LINKER set to aarch64-sabaton-linux-ar
....
....
....
....<build continues>
This step will take about 40 minutes on the free tier of GitPod. The Sabaton builder does the following when you type the build command.
- Retrive source code for the Initrd application
- Retrieve source code for Linux Kernel
- Build Initrd and Linux Kernel, packing the initrd into the Kernel.
- Create a disk image with the partitions specified in partitions.toml
- Create file-system images for each of the partitions
- If the image description contains a crate reference, retrieve the source code of the crate and build and inject the resulting binary into the filesystem image. Some basic utilities such as procs, kibi and larger applications such as vpncloud and parsec are built and injected in the demonstrator.
- Finalize the file-system images and place it in the relevant locations of the disk. Some partitions are duplicated for A/B partitions.
- Compute the hash of the partitions that are marked to be protected with dm-verity. Sign the metadata and inject it into the verity partitions which are also defined in the partitions.toml.
- Build u-boot
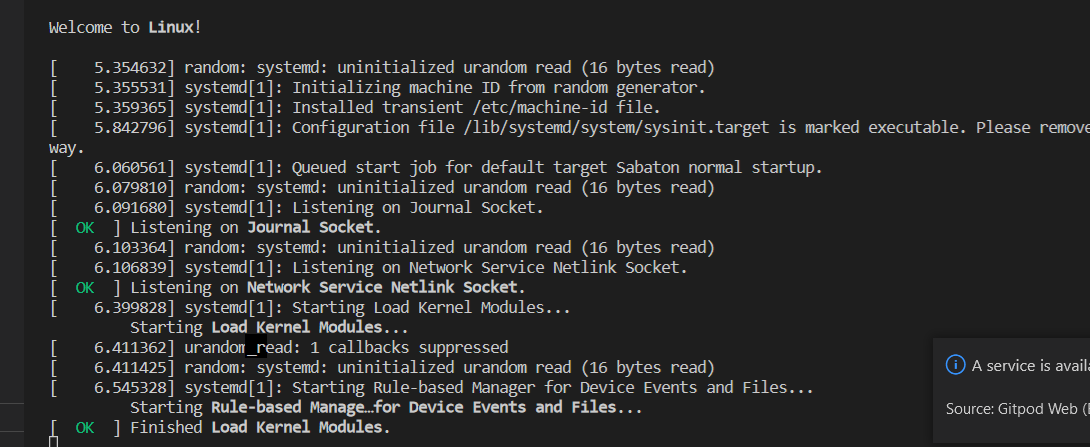
At the end of this process, you have an image that can be booted into Qemu. You may download the image from the IDE. (Right click on the browser and download). You can also boot the image right from the web-ide by using the qemu shipped as part of the Sabaton SDK.
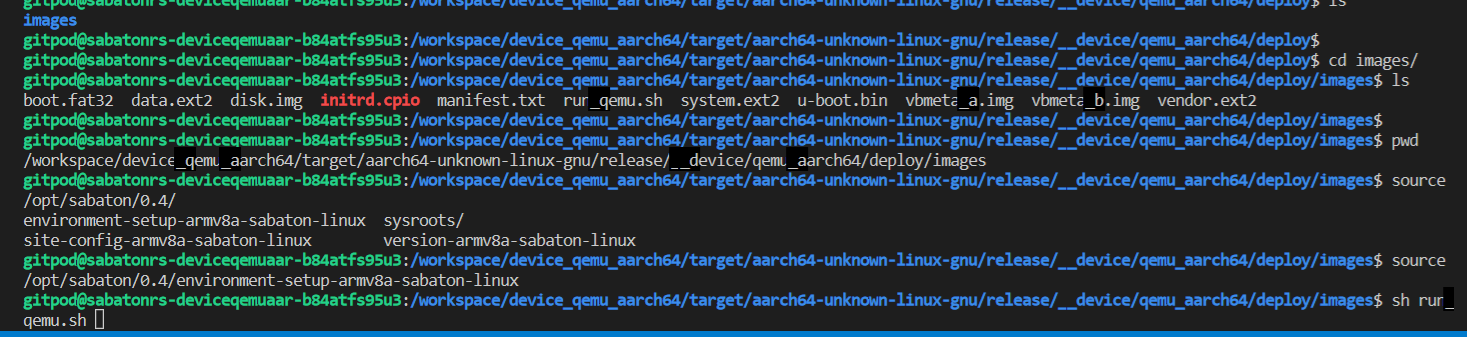
You can find the created disk images in the the target folder target/aarch64-unknown-linux-gnu/release/__device/qemu/deploy/images/ Here is a description of the generated files.
| File | Description |
|---|---|
| disk.img | This is the complete flash image. The qemu image has a 512MB flash as defined in the partitions.toml |
| u-boot.bin | The path to this binary is passed to the -bios command line parameter of Qemu |
| run-qemu.sh | This script can be used to boot the image in qemu. qemu-system-aarch64 must be in the path before running this |
| manifest.txt | A manifest describing the whole image and its parts. This is used by the OTA tools to generate update packages |
| <other_images> | All the constituent images that are part of the flash image are available here. The OTA tools can used it to create delta packages |
You can boot the image into QEMU by running the run-qemu.sh script. You can either install qemu-system-aarch64 or used the version that is part of the Sabaton NDK. Here is an example running it using qemu that is part of the NDK.

Step3 : Boot the image into QEMU
$:~/sabaton/target/aarch64-unknown-linux-gnu/release/__device/qemu/deploy/images$ source /opt/sabaton/0.4/environment-setup-armv8a-sabaton-linux
sh ./run-qemu.sh